Carving Meat Tips
By Sam Wass, Medium Well
The master of a table dissects a bone with ease and grace, he is not only well thought of, but admired’ (Rev John Trusler, The Honours of the Table, 1788)
The key to becoming a good meat carver, is to start with good meat! That sounds pretty obvious, but in the simplest of terms, good meat that comes from good stock, on a great farm, and that has been properly hung by the butcher, will cut and carve much better than young meat, which is generally what you get from the supermarket. Meat needs hanging to tenderise it, to allow the muscles time to relax and for the flavour to mature. When a carcass hangs, the fibres of the meat start to break down. This does involve shrinkage but that is where the meat magic takes place, and improves the flavour and tenderness when eating.
It is for this reason that supermarket meat is rarely (if ever) hung on the bone, as not only is the process time consuming, and time is money to the big multinationals, but it also allows the meat to shrink, which shrinks their profit margins. At a consumer base level, you have got two choices - you either pay more to a butcher and let the meat shrink in his cold (aging) room or fridge, or you pay a supermarket and watch the meat shrink in your oven. It really is that straight forward.
- Don’t be nervous or frightened, you can’t get it too badly wrong. Move the meat around the board into a position your comfortable with it, it won’t affect the flavour. Cooking the meat is much more difficult than carving, and you’ll get better with experience.
- If you carve meat or poultry straight out of the oven, no matter how good the meat, the flesh is too rubbery and the juices will just pour out. Let the meat rest by covering it in foil for 15-20 minutes or so. Resting the meat continues the cooking process and allows the meat to equalise temperature throughout, and the juices to be distributed evenly, which makes the joint much easier to carve, and all the juices are deliciously retained. If the meat squeaks as it is being carved, it is a sign that it hasn’t been rested enough.
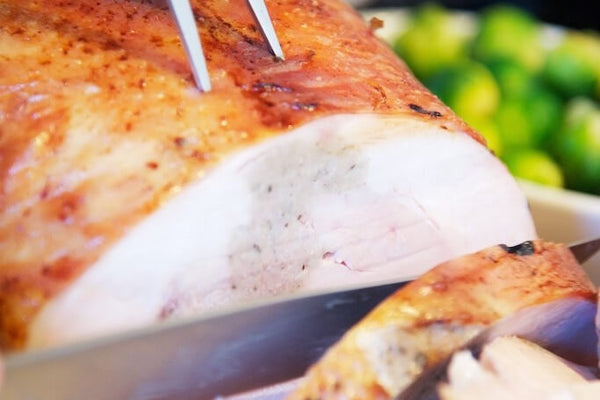
- Get yourself a good knife (ideally a carving knife), and let the knife do the work for you. A carving knife should be very sharp (use a sharpening steel if you have one), to avoid flaking and wasting the meat. A blunt knife will squeeze rather than slice, meaning the juices are going to come out of the joint rather than be retained for flavour.
- If you’re serving Medium or Medium rare joints, you are best using either a proper carving board or a warm platter to collect the juices that will run out. If you’re serving a joint well-done then a regular chopping board should be fine.
- A secure chopping board makes carving easier, so it’s a good idea to secure your board, to make sure it doesn’t move around. An easy way to do this is to use a damp cloth folded and put beneath the board.
- Remove any string, skewers, elastic bands or netting before carving. Sometimes this causes rolled meat to fall apart, but it’s better than serving bits of string to your guests.
- Carve across the grain, rather than with the grain, to retain moisture to give you a juicy, more tender meat. Very tender cuts such as fillet or loin, can be cut with the grain, but if in doubt always cut against the grain.
- When carving a bone-in leg joint, begin by carving a narrow wedge or V-shaped piece from the middle of the leg, and then following the angle of the ‘V’ carve down to the bone and lift out the slices.
- If your joint has a bone, use a clean tea-towel to hold and turn the bone, and cut horizontal slices away from you
- If you’ve got a good piece of meat, try not to carve too thinly, as the flavours will stand out more in slightly thicker slices, so aim for about 5mm or 1/4 inch thick.
- Enjoy the taste of your expertly carved meat, and remember the carver can usually get away with doing the dishes :-)